

How to Brand Event Photography: An Artwork Approval Checklist
Approve your branded event photography with six practical checks for artwork, portrait layouts, prints, screens and digital delivery.
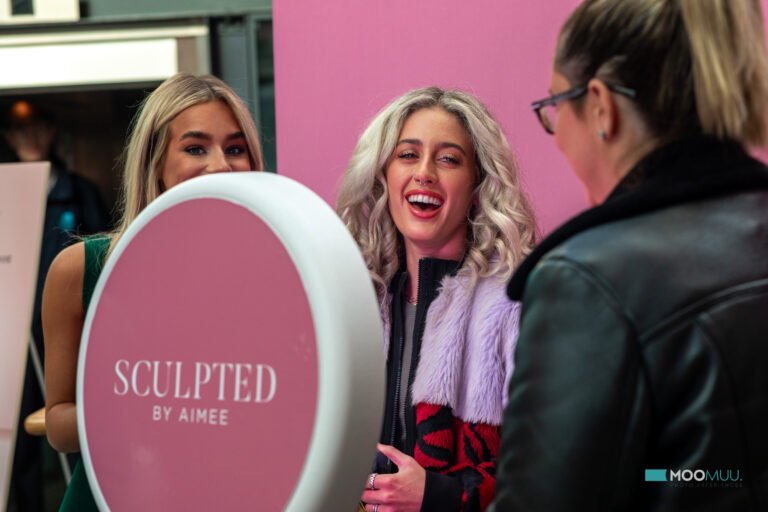
Branded event photographs should feel like something your guests want to keep. A clear portrait, a well-placed logo and a thoughtful layout can make the event recognisable while leaving room for the people in the picture.
If you are deciding how to brand event photography for a launch, conference or awards evening, the artwork approval stage deserves its own checklist. Use these six checks to take your design from a promising mock-up to a finished photograph, print or screen that works in practice.
1. List the designs your booking actually needs
Start with the agreed experience and its outputs. A welcome screen, a printed keepsake, a digital photograph and a rear display do different jobs. Give each one a line in your brief, noting where it appears, who will see it and what the guest needs to do next.
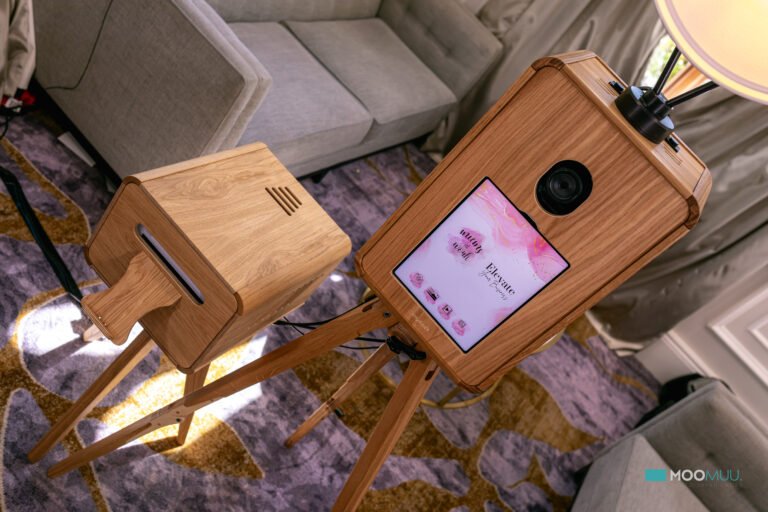
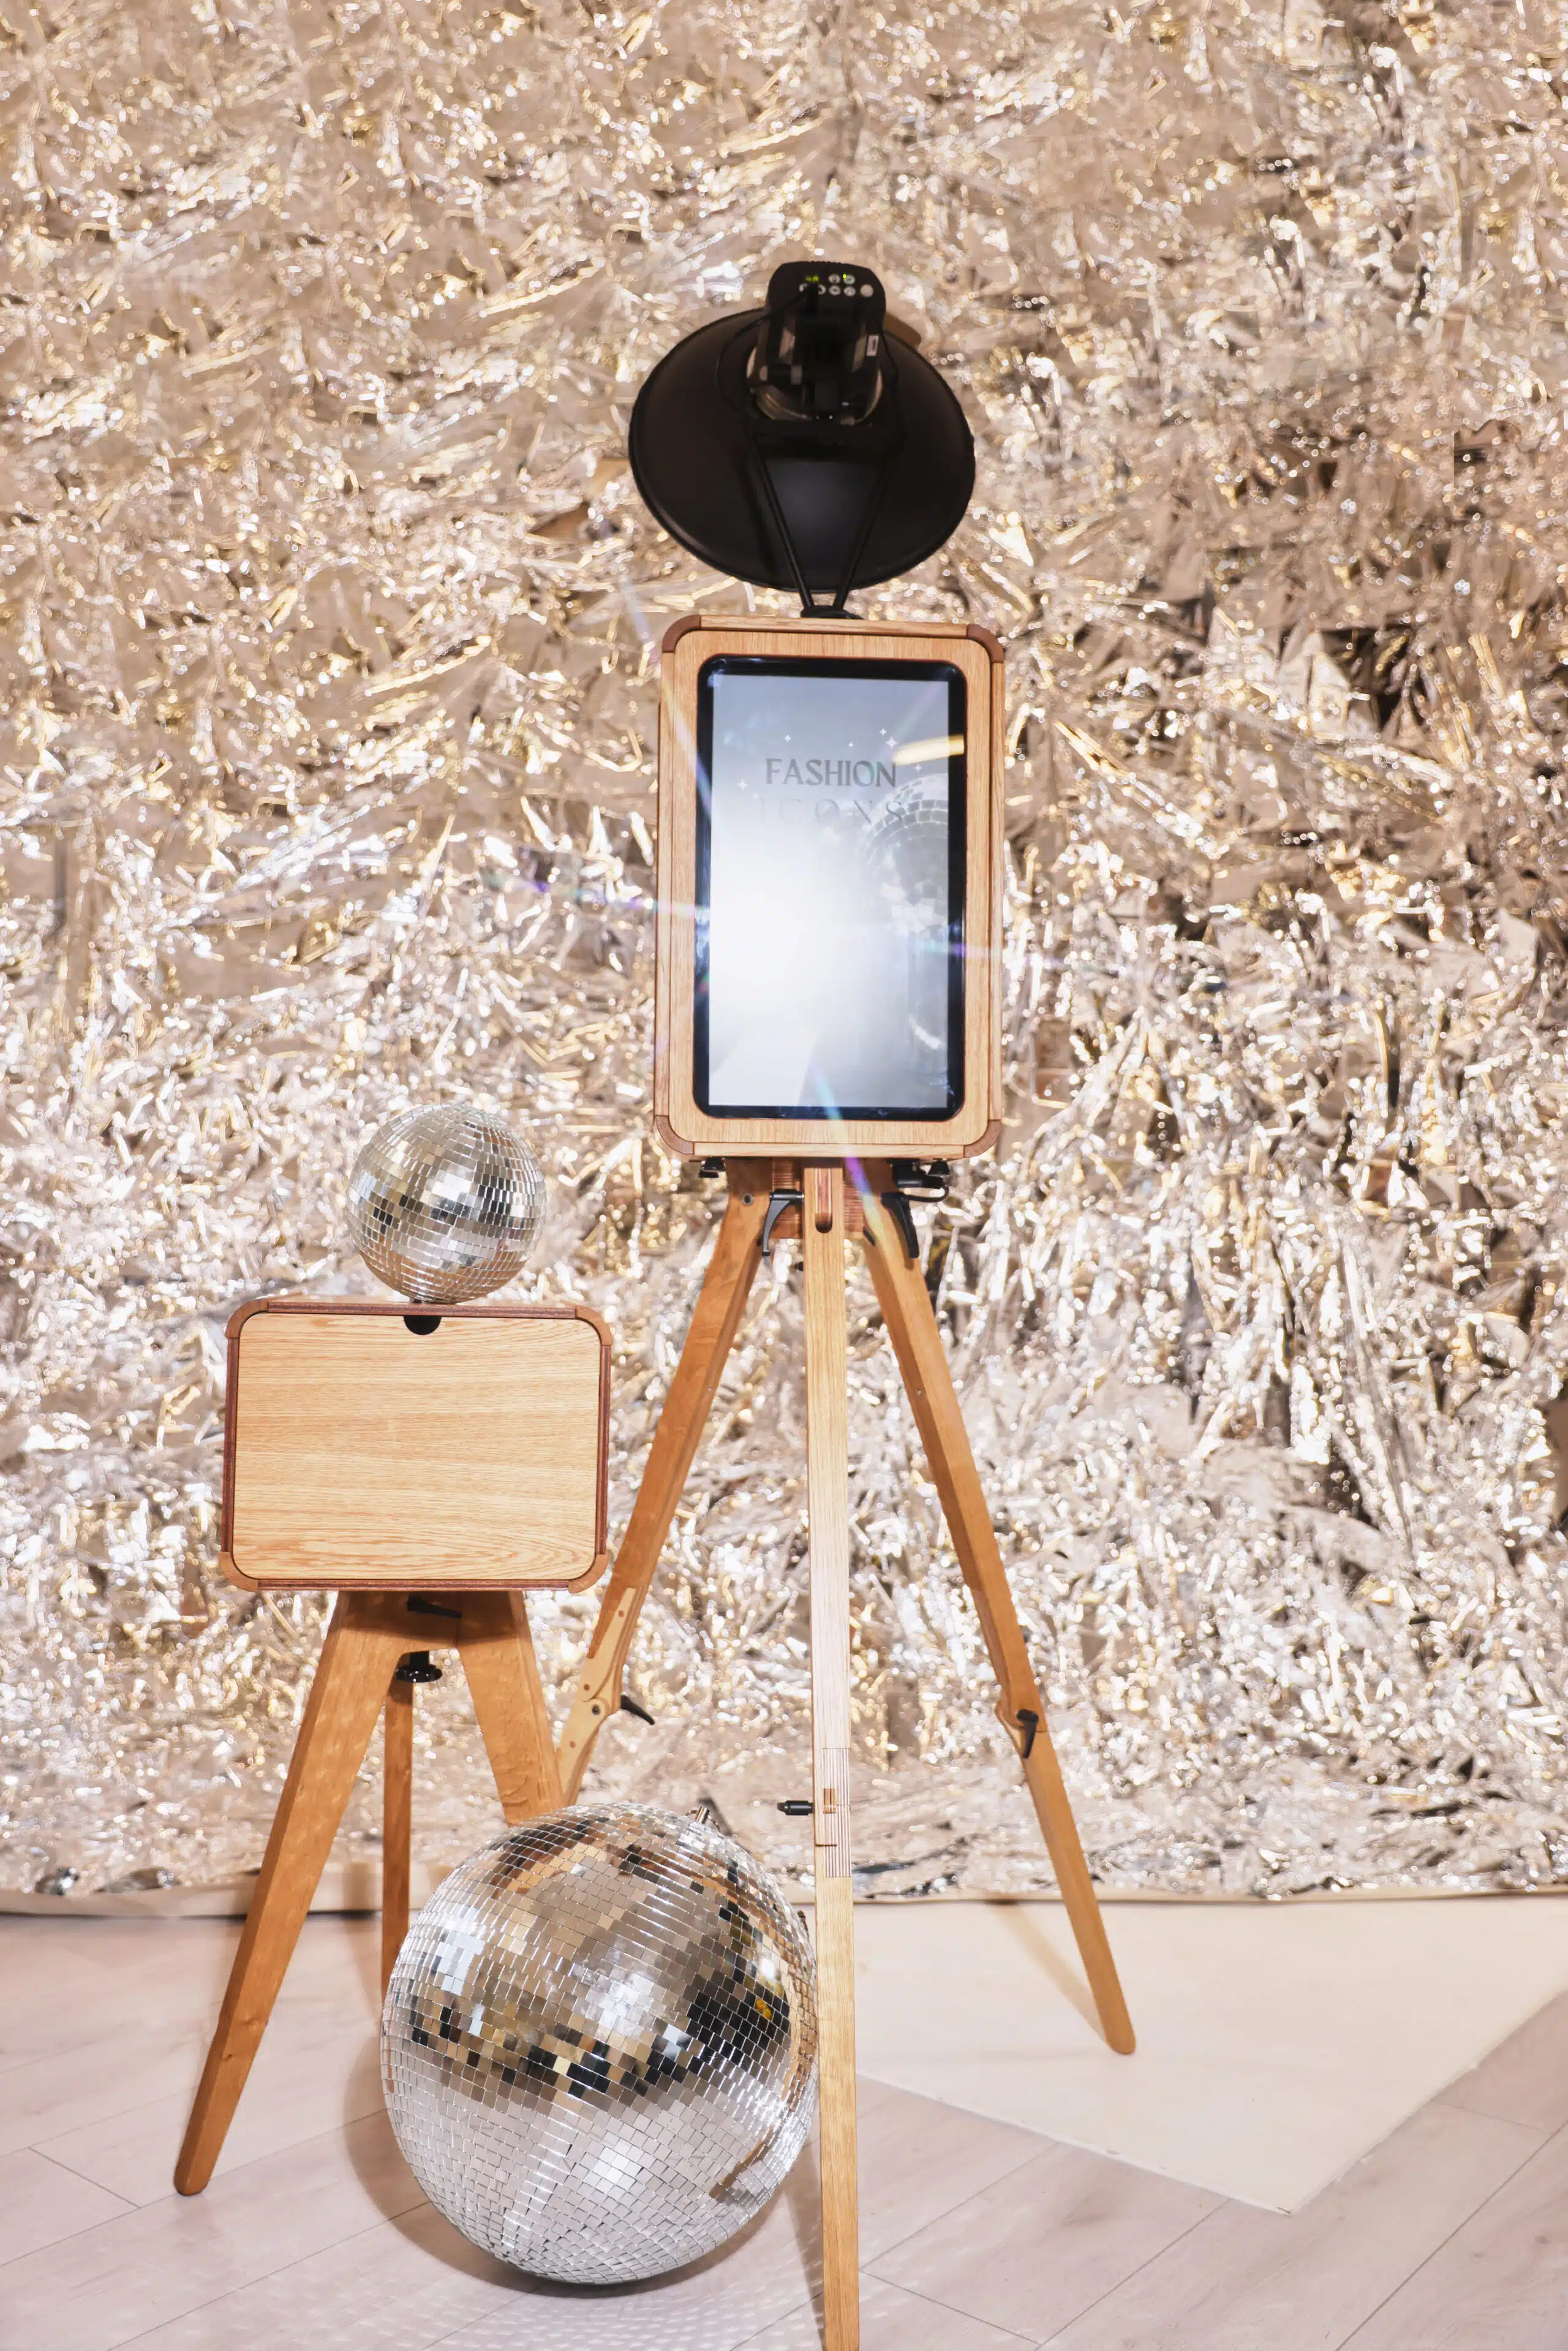
For example, the corporate ICON Booth brings together hosted photography, personalised prints and a full-height rear gallery. Its artwork can span the print layout, booth screens and rear display. By comparison, the Digital Booth is self-service and print-free, with personalised digital designs for photos, GIFs and boomerangs. It includes delivery, installation, testing and remote support during the agreed hire.
Confirm the exact formats, dimensions and customisation included in your proposal before commissioning artwork. A design approved for one booth or output may need a different layout for another.
2. Send one approved asset pack
Gather the current logo files, colour references, typeface guidance and campaign wording in one place. Include any required partner marks and agree their relative prominence before the first proof. A designer should not have to choose between several versions of the same logo.
Write event names, dates, web addresses and hashtags exactly as they should appear. Identify the person who can give final approval, and agree a deadline that leaves time for revisions and testing. Consolidating feedback into one response helps avoid conflicting changes from different teams.
3. Review the artwork with people in the frame
An empty template can look beautifully balanced while leaving too little space for a group photograph. Ask to see the design with representative sample portraits: one person, a pair and a group where that format is intended. Check that faces, hair and shoulders have comfortable clearance from logos, borders and wording.
Look at the whole composition. If the backdrop already carries a prominent brand mark, the overlay may only need a small event name. Repeating a large logo in both places can make the photograph feel crowded. Keep the guest image easy to enjoy at a glance.
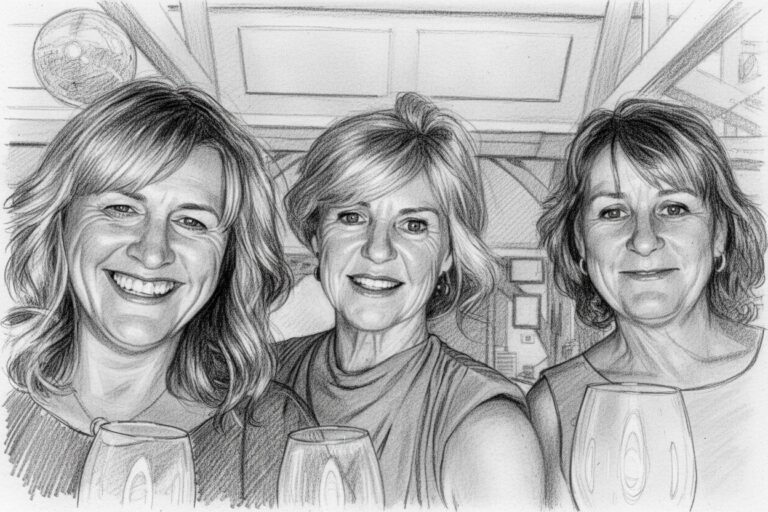
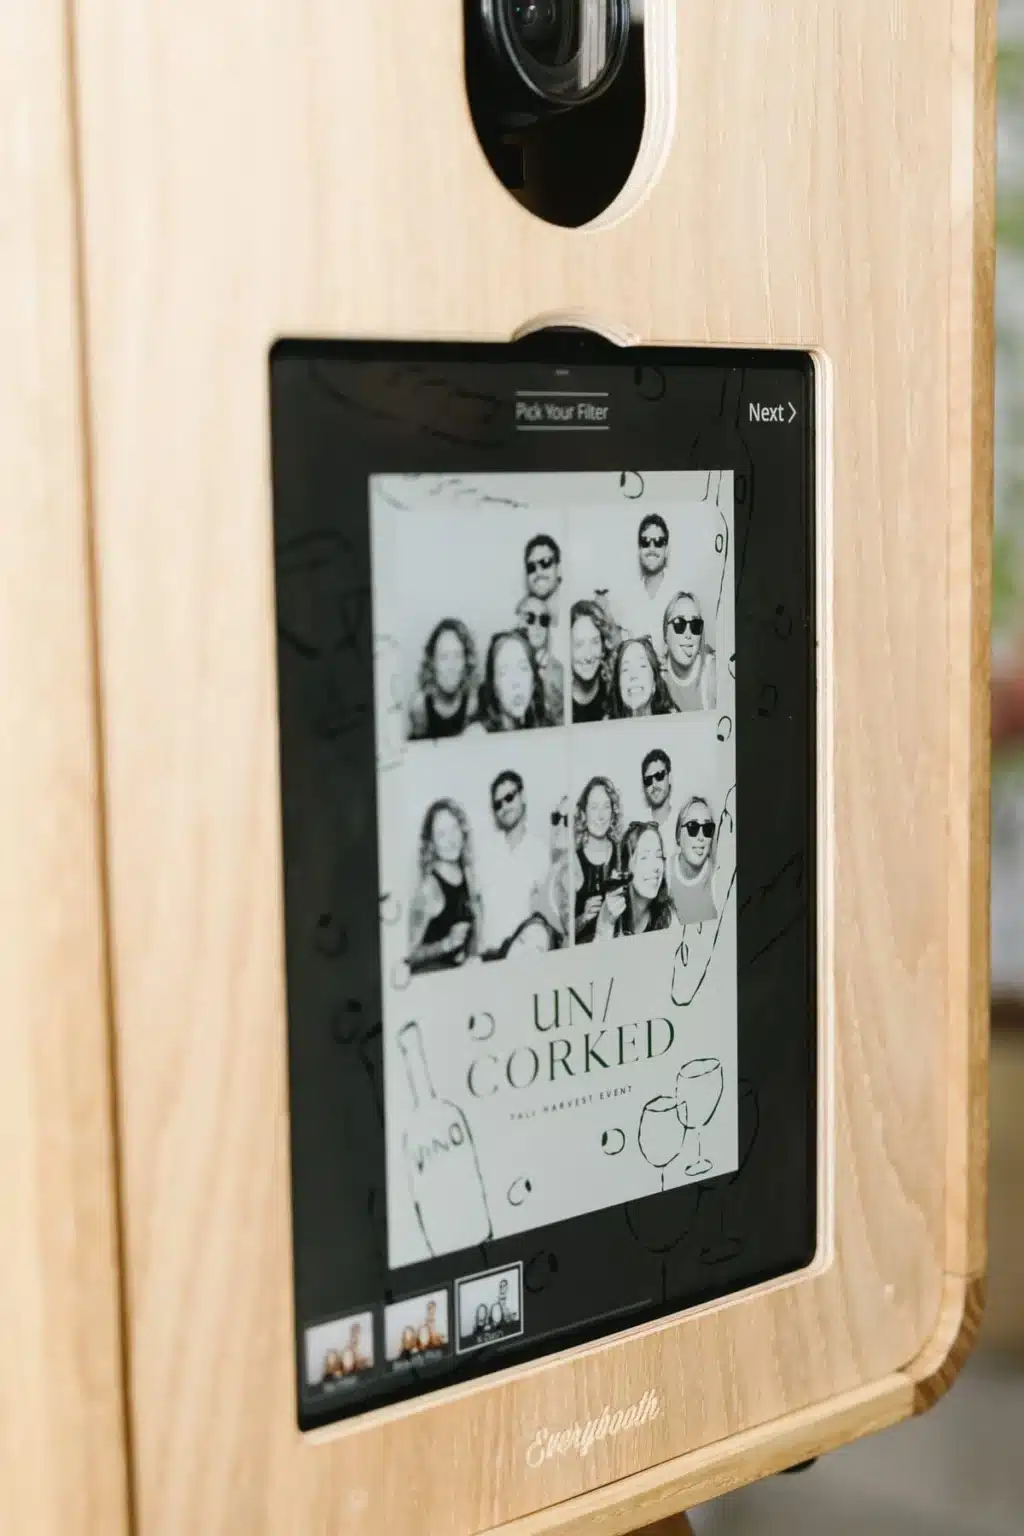
Test the design against the chosen photographic finish too. Signature GLAM creates monochrome portraits, so its proof should show that treatment. Check the contrast of lettering and the appearance of brand elements in the finished output, rather than assuming a colour mock-up tells the full story.
4. Check prints and digital files separately
For a package with prints, review the layout at its intended physical size. Check small lettering, logo clarity, margins and any area that will be trimmed. Agree the final proofing process with the team; a large design on a laptop is not a reliable guide to how small details will read in a guest’s hand.
Open digital samples on a phone as well. Can you read the event name without zooming? Does the portrait remain the focus? If an additional crop is needed for a particular channel, request it in the brief rather than assuming every format will be supplied. Review any GIF or boomerang as a moving file, checking that branding remains legible throughout.
Keep a simple distinction between making a file easy to share and expecting guests to post it. A well-designed photograph gives them an appealing choice; it does not guarantee social reach.
5. Approve screen instructions and sharing wording
A welcome screen should make the first action obvious. Use a short invitation, readable text and a clear next step. Review these instructions separately from the decorative artwork, particularly for a self-service Digital Booth where guests need to follow the journey themselves.
For the ICON Booth, consider what guests approaching the rear gallery will see and how that display relates to the portrait experience at the front. Campaign visuals, gallery content and any instructions should work at the viewing distance planned for the venue.
Check that sharing instructions match the agreed delivery method. Live Digital Booth sharing needs reliable connectivity, so confirm the venue connection and the approach if signal is limited. Agree gallery access and download arrangements too. Keep photo delivery details separate from any optional marketing sign-up, and agree intended campaign use of guest images beforehand.
6. Record the final version and test the journey
Before the event opens, allow time for an end-to-end check using the approved designs. Follow the guest’s route from the welcome screen to capture, then to the print or digital delivery included in your booking. This is where an outdated logo, unclear instruction or unexpected crop is much easier to spot.
Your final approval record can be brief:
- Experience, outputs and artwork dimensions confirmed.
- Correct logos, event wording and partner hierarchy approved.
- Portrait clearance, contrast and readability checked.
- Print, digital and screen proofs reviewed in their intended formats.
- Guest instructions, sharing and gallery arrangements agreed.
- Final filenames, approval date and responsible person recorded.
Bring that approved version into your production handover alongside the venue and guest-flow plan. If a late change is necessary, make sure the team knows which files it replaces.
Planning branded photography for your next event? Share your brief with MooMuu, including your date, venue, guest numbers and preferred outputs. We can help shape an experience whose finished photographs feel as considered as the event itself.