

Exhibition Photo Experience Signage: A Practical Guide
A practical signage toolkit for a hosted ICON exhibition stand, with sample wording for joining, collecting prints, digital sharing and optional brand conversations.
Good exhibition photo experience signage answers the question a visitor has at that moment: what can I do, where do I join, and what happens next? A few well-placed words can make an experience feel welcoming without filling the stand with instructions.
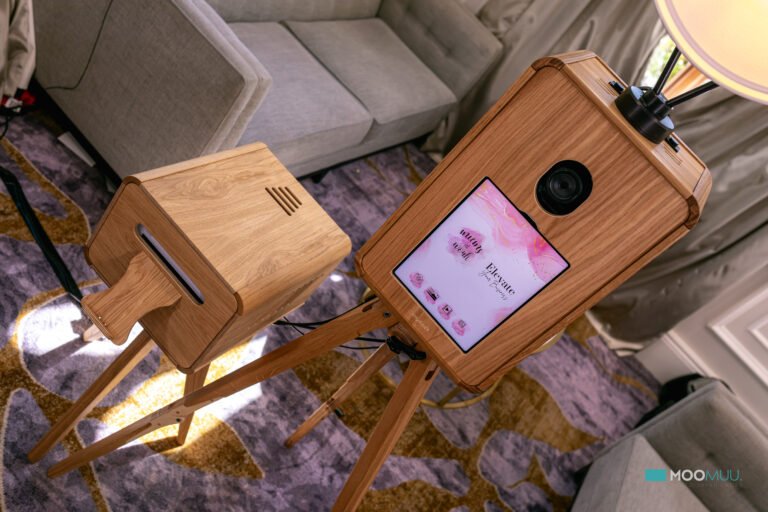
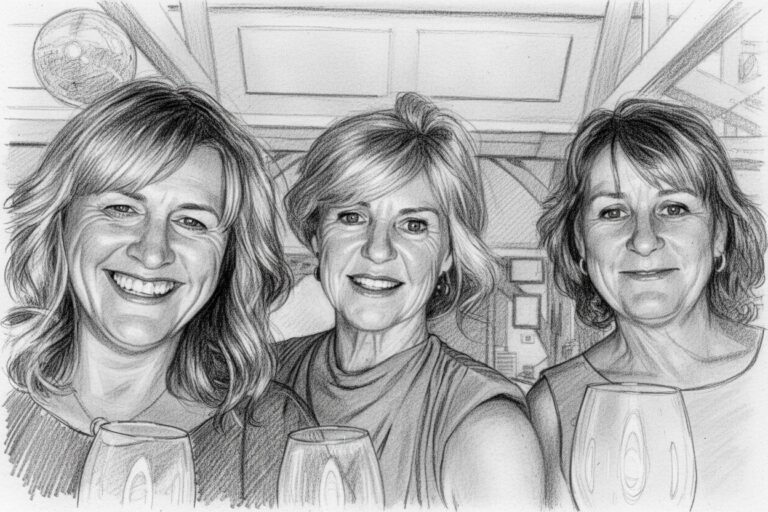
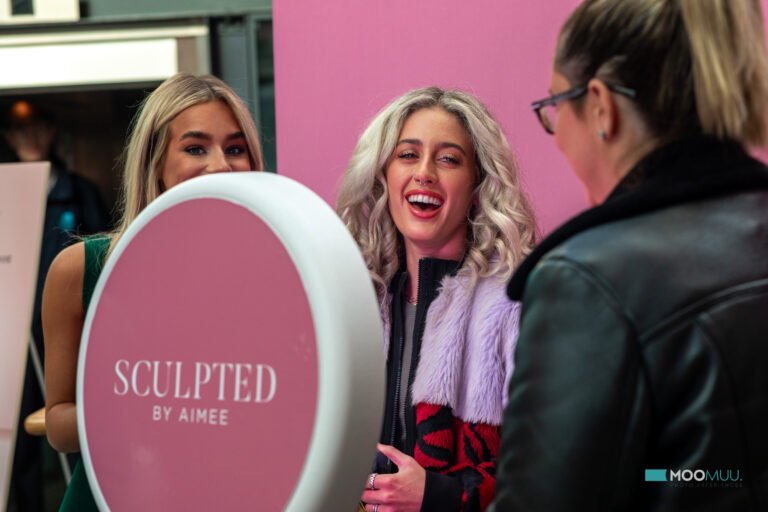
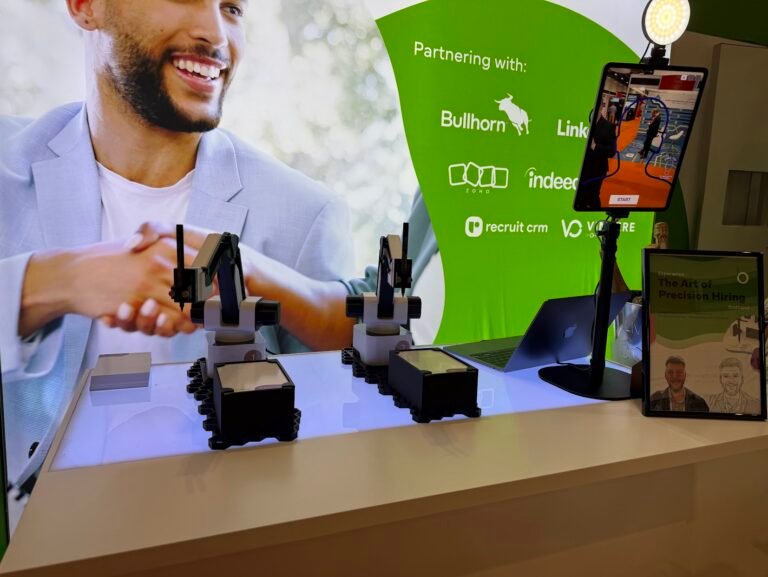
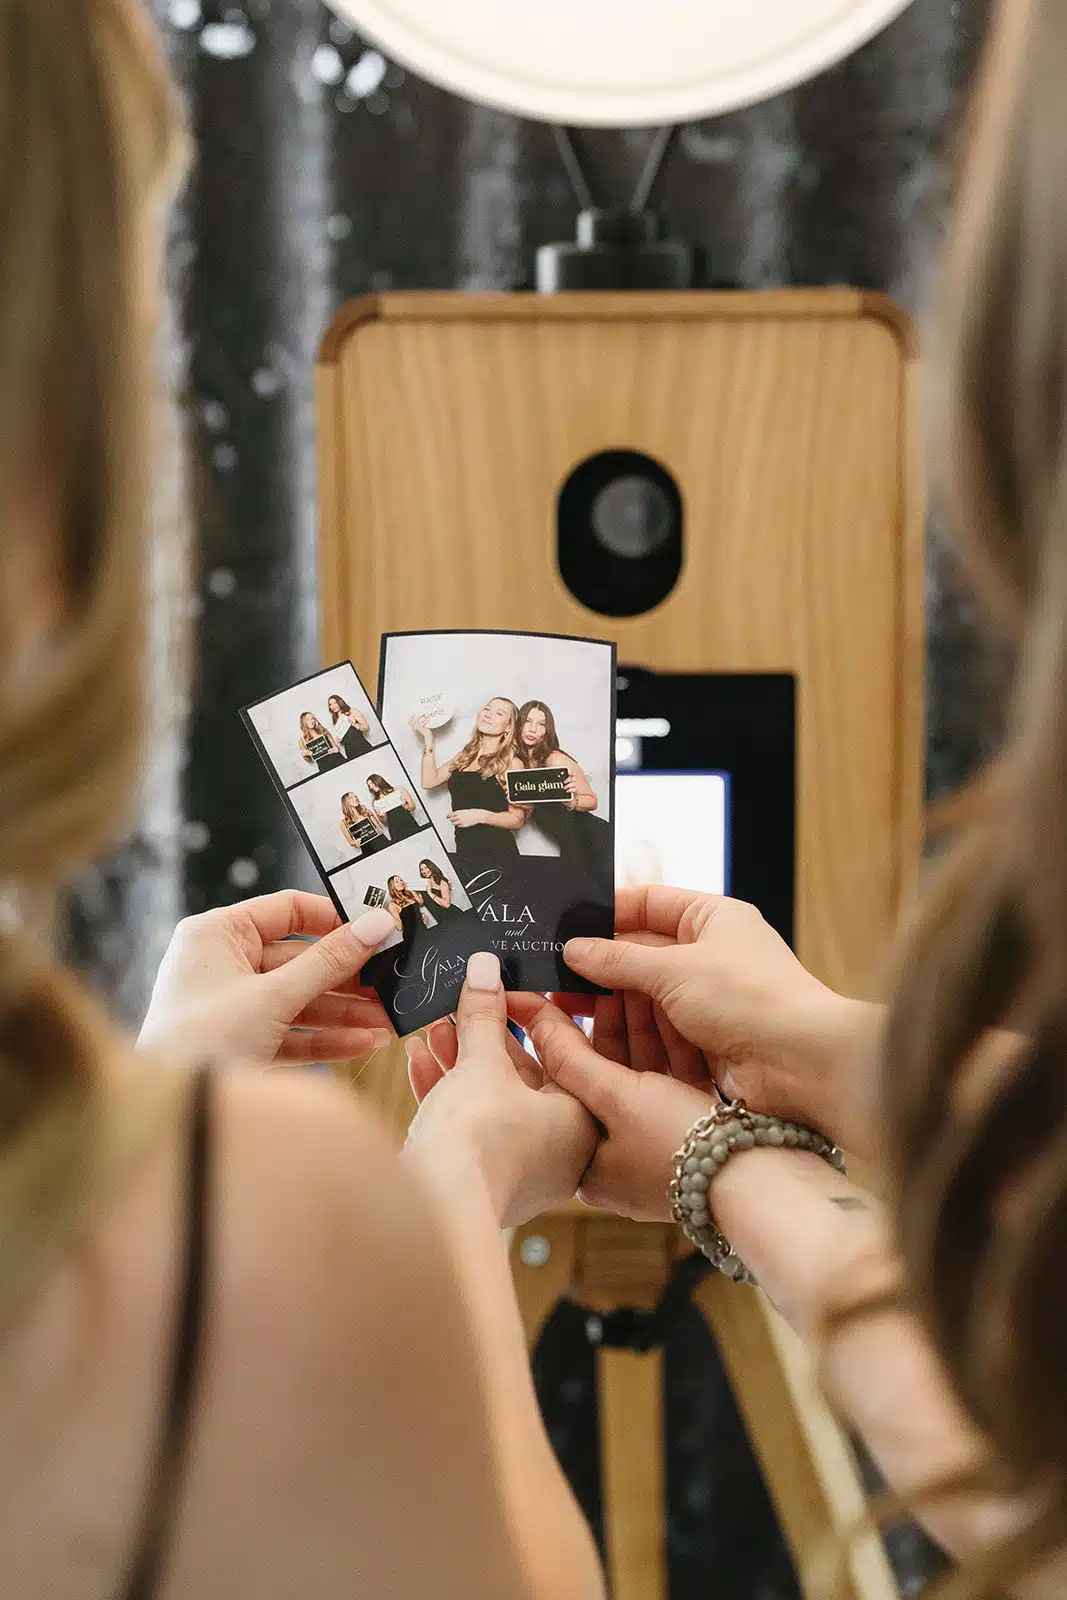
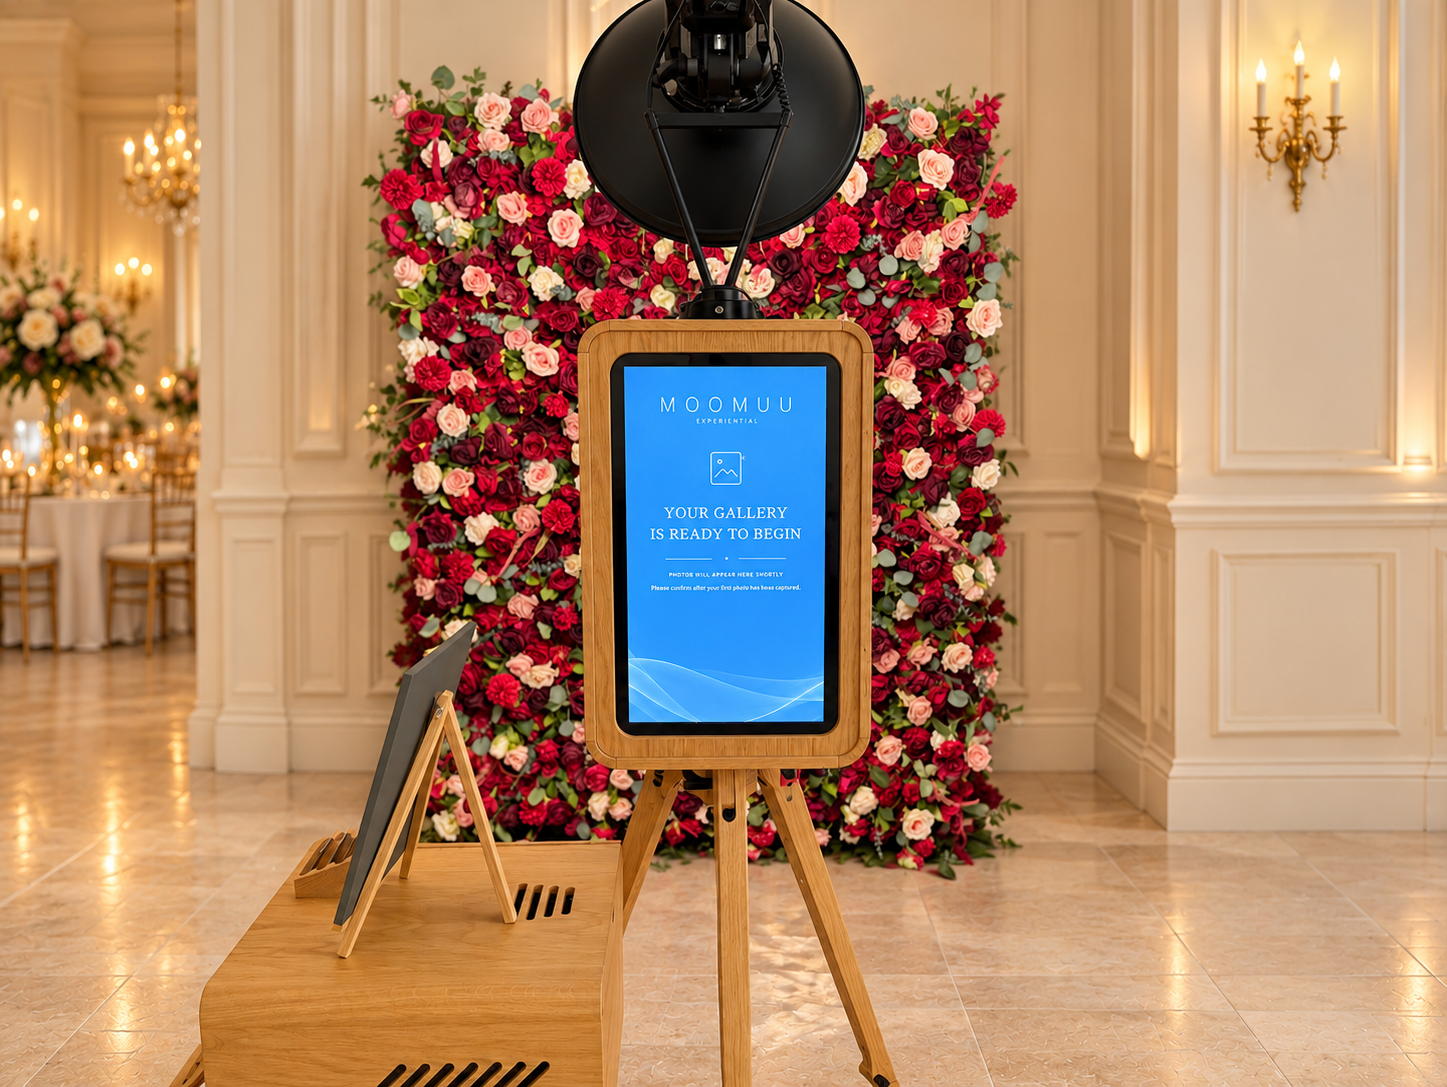
This guide gives sample wording for one illustrative stand using the hosted MooMuu ICON Booth. It is a copy toolkit to adapt with your event team, rather than a description of a past client event. The photographs show the equipment and printed keepsakes, not the proposed signage.
ICON combines portrait photography, personalised prints and an interactive rear gallery. Confirm the operating hours, collection point and sharing arrangements in your proposal before turning any sample into finished artwork. Physical signs and their production should also be agreed separately.
1. Give visitors a clear invitation
At the edge of the stand, lead with the experience and the takeaway. Keep your campaign identity visible, then give people one simple invitation.
Step in for a portrait.
Take a printed keepsake away.
This wording tells someone what they will do and receive before they approach. A short supporting line can name your campaign, but the headline should still make sense to a visitor who has never heard of it. Avoid vague invitations such as “Discover the experience” when the photograph itself is the reason to stop.
Use the print wording only where it matches the agreed service. It would be unsuitable for a print-free experience. If you are still choosing a format, start with our exhibition experience shortlisting guide, then write the signs around that decision.
2. Show people where to join
A joining sign should be visible at the actual starting point. Use the same word for the activity here as you used in the invitation, so visitors do not have to work out whether “portrait”, “activation” and “content station” mean the same thing.
Join here for your portrait.
Our host will guide you.
For this hosted ICON example, the wording gives visitors a clear next step and a person to ask. Position “here” carefully: the sign belongs at the agreed joining point, not beside a printer or behind the booth. Add a direction arrow only after checking which way it points in the finished stand.
Keep help easy to find. A supporting line such as “Please speak to our host if you would like help taking part” is useful when the host can be identified from that position. Discuss participation needs with MooMuu in advance rather than relying on a sign to explain every possible arrangement.
3. Make print collection easy to recognise
Once the photograph has been taken, visitors need to know where to collect it. A small sign at the agreed collection point can do that job without repeating the whole invitation.
Collect your photograph here.
Our host can help you find your print.
Use this after confirming how the host will hand over photographs. If prints are handed directly to participants, a separate collection sign may add clutter rather than help. Avoid printing a fixed waiting time onto the artwork: it may stop being accurate during a busy period.
4. Explain the digital option accurately
A rear gallery and a printed photograph are different parts of the experience. Give digital sharing its own short explanation, placed where visitors will look for it.
Would you like a digital copy?
Ask our host how to receive your photograph.
ICON offers email or SMS delivery through its interactive display. The sample keeps the first instruction simple while allowing the host to explain the event setup. Live sharing can depend on connectivity, so confirm the process before promising that an image will reach a phone immediately.
If you want to mention the rear screen, “Browse the gallery on the rear screen” is a clear supporting line where that gallery is available. Keep it separate from instructions for joining the portrait queue. A visitor browsing photographs should be able to understand which activity the sign refers to.
Only add a QR code if a suitable destination has been agreed and tested. Label what it opens, such as an event information page. Do not imply that it delivers a personal photograph unless the event workflow actually supports that route.
5. Make a brand conversation an invitation
An exhibitor may want to meet visitors after their photograph. Give that conversation its own invitation so people can understand the next choice without confusing the brand team with the MooMuu host.
Curious about what we do?
Meet our team here.
Place this beside the exhibitor’s conversation area and use the brand’s name if “our team” could be unclear. You can make the invitation more specific when the team has something concrete to show, such as “Ask our team for a product demonstration”. Only offer a demonstration when someone is ready to provide it.
Agree this wording with the stand team. The booth host looks after the photo experience; the exhibitor’s staff should own product questions and sales conversations. If you need help positioning these areas, our guide to three corporate event layouts explores how the different activities can sit together.
Proof the whole set before production
Read the signs in the order a visitor will encounter them. Each should answer the next question without requiring someone to remember a paragraph from the first board.
- Check every promise against the proposal: prints, staffing, operating hours and digital delivery.
- Use consistent names for the experience, collection point and people who can help.
- Check “here”, arrows and screen references against the actual positions on the stand.
- Test any QR destination on a phone and make its purpose clear in the accompanying words.
- View artwork at its intended size and distance; keep the main instruction easy to read against the background.
- Give the host and exhibitor team the final wording so their spoken instructions match the signs.
A premium finish comes from making the next step feel effortless. Keep the main message brief, let the photograph remain the focus, and give visitors a clear way to ask for help. Share your exhibition brief with MooMuu to agree the experience, artwork and practical details before production.