

Three Corporate Event Layouts for Photo Experiences
Explore three practical corporate event layouts: an exhibition stand, a drinks reception and a shared mosaic reveal, with clear routes for guests at each stage.
A thoughtful corporate event layout gives every part of a photo experience a place: the invitation to join, the portrait itself and the moment guests enjoy what they have made. Those small decisions help the experience sit naturally within the event.
Here are three illustrative layouts for an exhibition stand, a drinks reception and a shared mosaic reveal. They are starting points to discuss with MooMuu and your venue, rather than drawings to scale or accounts of completed client events. The photographs show the equipment and activities; they do not depict these proposed layouts.
1. Exhibition stand: make room for portraits and conversation
Imagine a stand where the aim is to offer a branded photograph and give visitors the option to speak with your team. The ICON Booth brings hosted photography, personalised prints and an interactive full-height rear gallery into that setting. Its front and rear need separate consideration on the plan.
Suggested guest route: invitation inside the stand → portrait → print or gallery browsing → optional brand conversation → return to the exhibition.
Keep the posing area within the stand boundary, away from the public aisle. Position the booth so that guests who have finished can reach the rear gallery without walking through the next photograph. Put the brand conversation area beside that onward route, with a clear way out for visitors who prefer to leave.
The gallery can give people another reason to pause, but it should not become the only way through the stand. Nor should a conversation with your team be a condition of receiving a photograph. Agree any optional marketing sign-up separately from photo delivery.
- Place the invitation where it can be understood. Let passing visitors see what they can do, while keeping the waiting area inside your stand.
- Give browsing its own space. A visitor looking at their picture should not occupy the next group’s posing position.
- Move longer conversations to one side. Your team needs somewhere to talk without standing in the capture or collection route.
Test the layout: can one group pose while another browses the gallery and a third talks to your team? If the routes cross, discuss changing the booth orientation or moving the conversation position. Confirm the final arrangement within the stand’s permitted footprint.
2. Drinks reception: create a natural pause in the evening
At a reception, guests are already moving between conversation, drinks and the wider room. A portrait experience works best when it feels easy to join and easy to leave. The Luxury Oak Booth offers hosted photography, personalised prints and a rear gallery screen, making it a considered option for this example.
Suggested guest route: leave the reception group → join the host → portrait → collect or browse → return to the reception.
Choose a visible position within the reception space, then keep the portrait area out of the main route to the bar, cloakroom or dinner tables. “Easy to find” does not have to mean beside the entrance. Guests arriving at the venue should be able to settle in without meeting a photo queue immediately.
Plan the pause after the photograph as carefully as the approach. People may want to compare prints or look at the rear screen. Give that moment a place beside the active portrait area, with enough circulation to return to their friends. Ask the venue to keep nearby furniture and catering routes clear of the agreed setup.
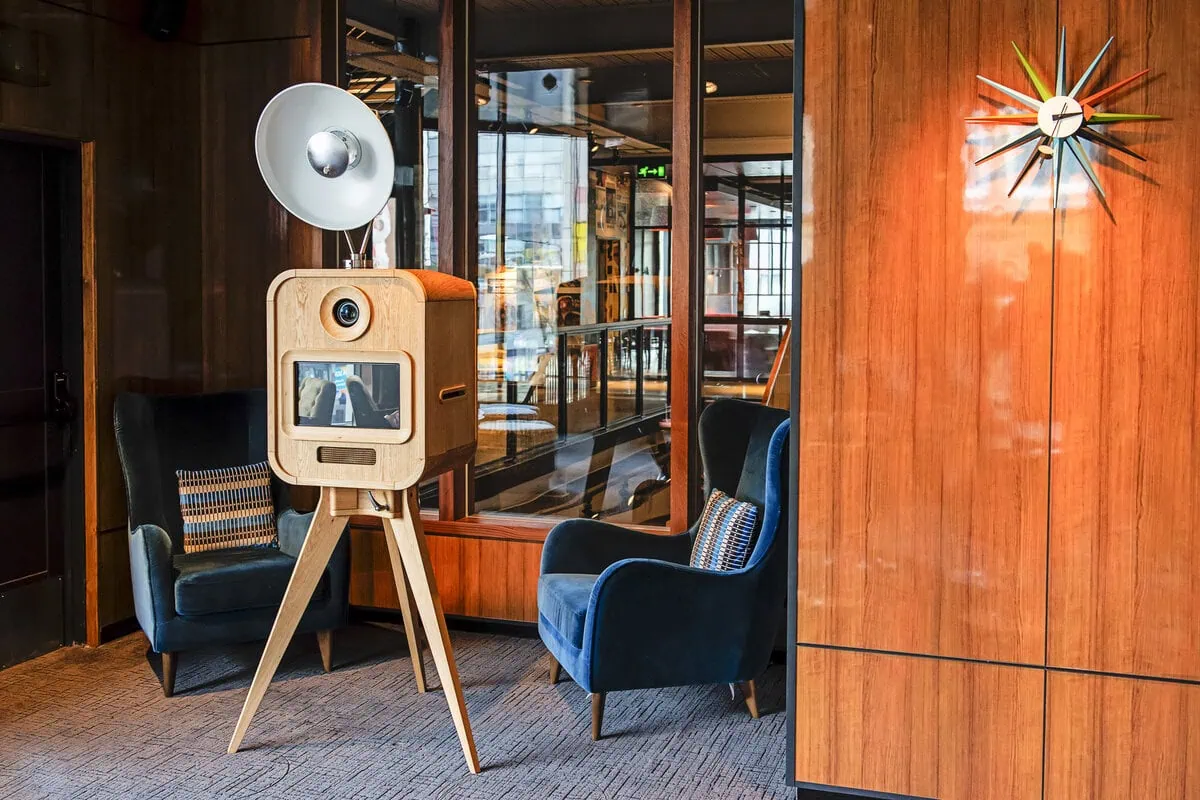
Test the layout: where would two colleagues stand while looking at their finished print? If the answer is in front of the camera, give collection and browsing a clearer position. Keep any place for drinks outside the equipment and posing areas, agreed with the venue.
Check the route at the point when the reception becomes busiest, and again when guests are called through to dinner. A layout that works during arrivals may need a different queue position later. Agree any change with MooMuu in advance.
3. Shared mosaic reveal: separate making from viewing
For a team celebration or brand event, a physical mosaic gives guests a contribution they can find within a larger artwork. Mosaic Wall Live includes an ICON Booth: guests take a photograph, receive their print and coded tile, then add the tile to the physical wall.
Suggested guest route: portrait at the included ICON Booth → print and tile collection → tile placement → step back to view the artwork.
Draw these as four connected activities on the plan. Keep the tile collection point easy to identify, and give contributors a clear route to the wall. Position the viewing area so that guests can stand back to appreciate the growing image without blocking people who are still adding tiles.
Unlike a portrait queue, the audience may return repeatedly. Someone who has already contributed might come back with a colleague to find their picture. Allow that return journey to meet the viewing area without sending them through the capture queue again.

Test the layout: can a guest add a tile while other people watch the artwork develop? If spectators fill the approach, agree a viewing position with clearer sightlines. For a planned reveal, discuss timing, expected participation and the completion plan with MooMuu; a finished image by a particular time should not be assumed.
This example is for the physical wall. Digital Mosaic builds on screen from uploaded photographs, so it needs a different plan for the display, viewing and participation. It does not use the same printed-tile route.
Choose the journey before finalising the floorplan
Use the exhibition layout when portraits and optional conversations need distinct places. Use the reception layout when guests should be able to dip in and return to the occasion. Use the mosaic layout when contribution and a shared view of the artwork are central to the experience.
Before approving your preferred option, walk through it from a guest’s point of view. Check where people join, where they pause afterwards and how they leave or return. Include accessible routes, the host’s working position and the surrounding venue activity in that discussion.
For measurements, ceiling clearance and delivery access, use our photo experience space guide, then confirm the complete setup with MooMuu. Printing, sharing methods, connectivity and operating arrangements should match your agreed package.
Send MooMuu your corporate event brief with the layout you prefer, your existing venue plan, date, guest numbers and operating times. We can help turn that starting point into a considered guest experience for your event.